To say I’m fascinated by drawn thread embroidery is an understatement. I love lace in general, but there’s something extra mesmerizing about geometric open work designs. I first read about Aintab (sometimes written as Ayntab) embroidery in Alice Odian Kasparian’s book Armenian Needlelace and Embroidery, which has beautiful pictures of drawn thread linens, some unfinished. The embroidery is a beautiful combination of open work with a variety of filling stitches, satin stitch, and needlelace borders.

There are many similarities with other forms of drawn work, such as Norwegian Hardanger and Italian reticello. In the examples of Aintab embroidery I’ve seen, bars can be wrapped, needle-woven, or buttonholed. The dove’s eye filling is common, as in Hardanger, and buttonhole bars are used to create floral shapes.
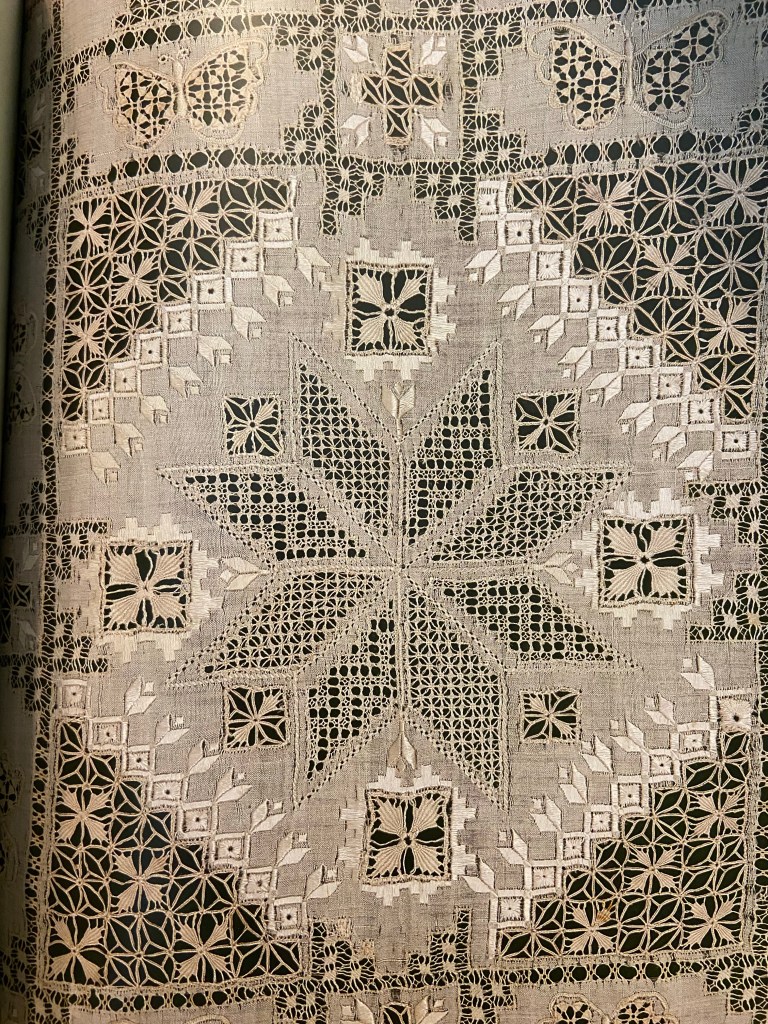
The motifs are often geometric, including stars, triangles, diamonds, hooks, or lozenges. Occasionally, more playful shapes make their way in, like the butterflies in the image below.
I wanted to recreate one of the floral motifs from the pillow cover. There’s no one right way to do the embroidery, and it’s impossible to know how the original embroiderer did it without seeing the piece in person. My interpretation is an educated guess, and would likely be modified for a different type of fabric or to make the motif fit in a larger or smaller area.
I started by withdrawing threads to make a 4×4 grid and working a satin stitch border to prevent unraveling. In the final piece, there are 12 withdrawn threads separated by 4 threads.
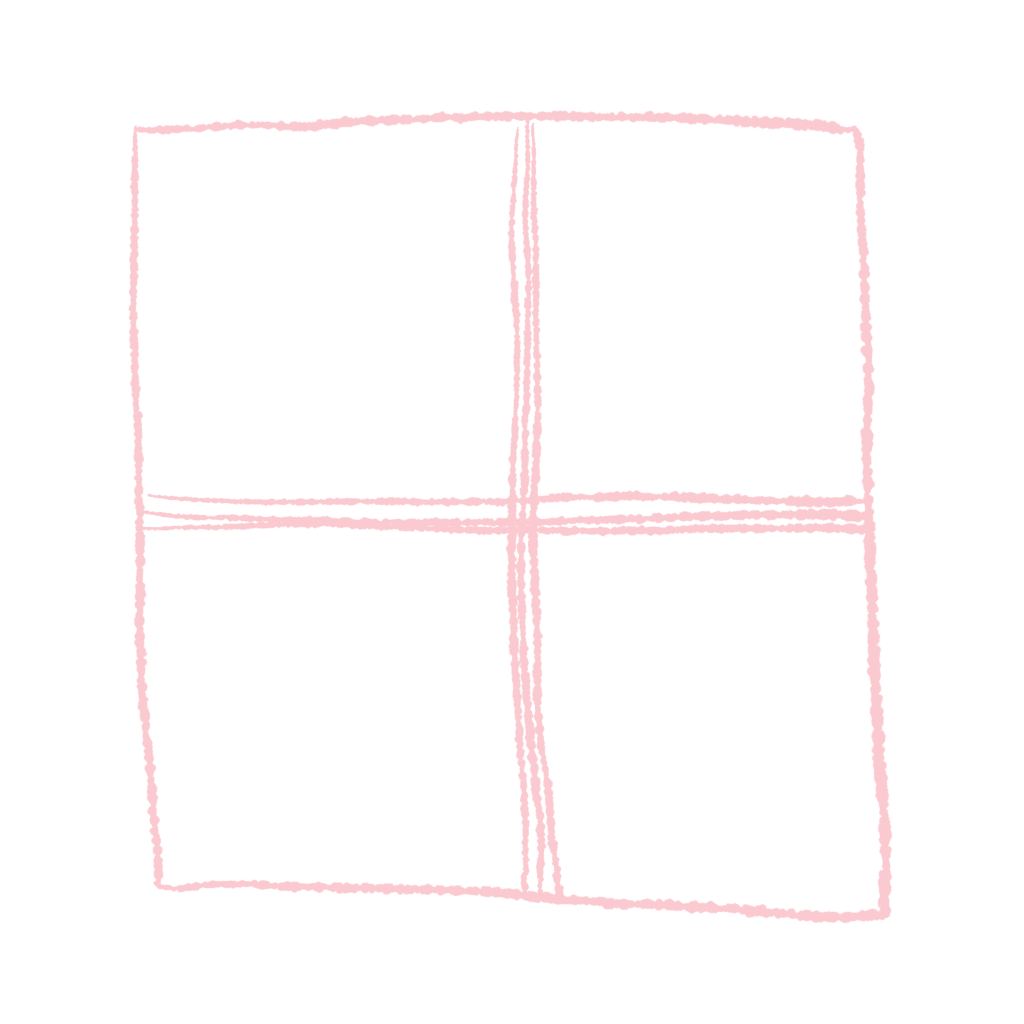
Next, work buttonhole bars over the remaining groups of 4 threads.
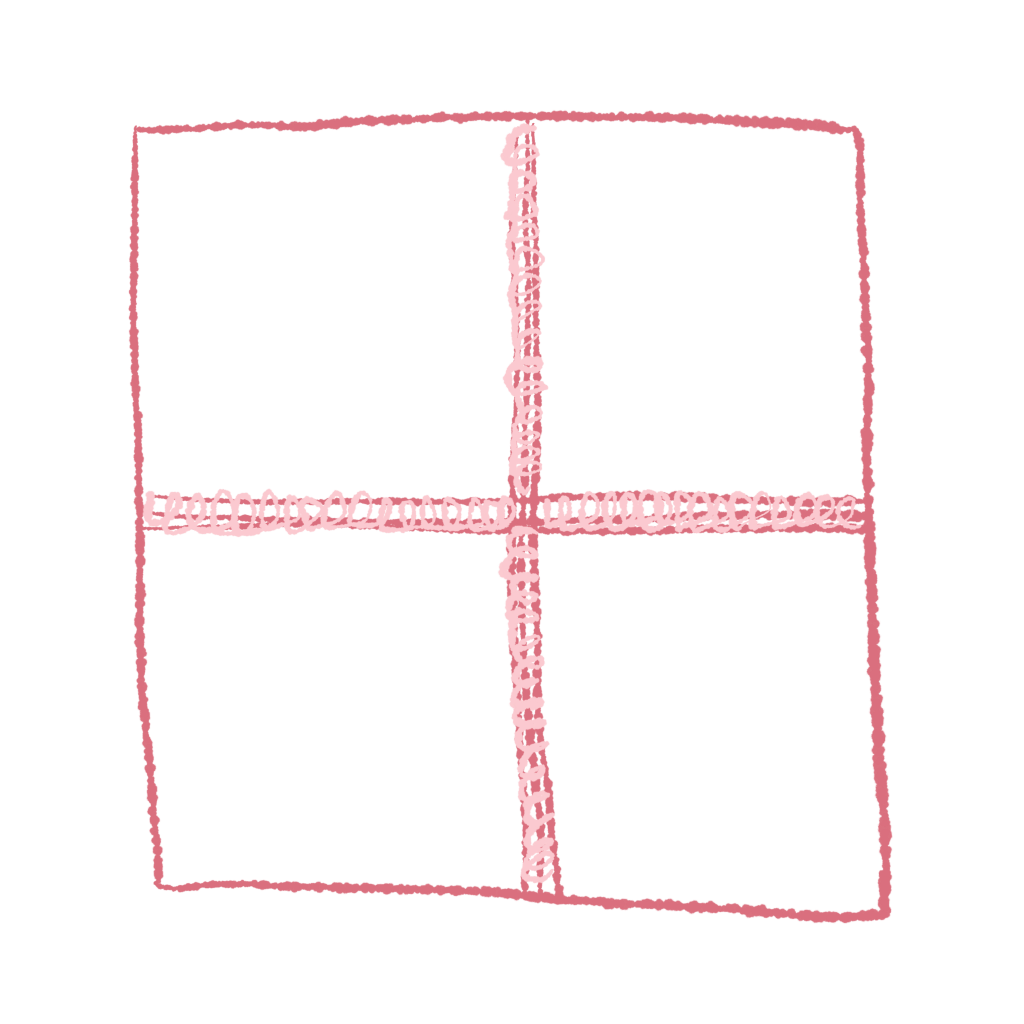
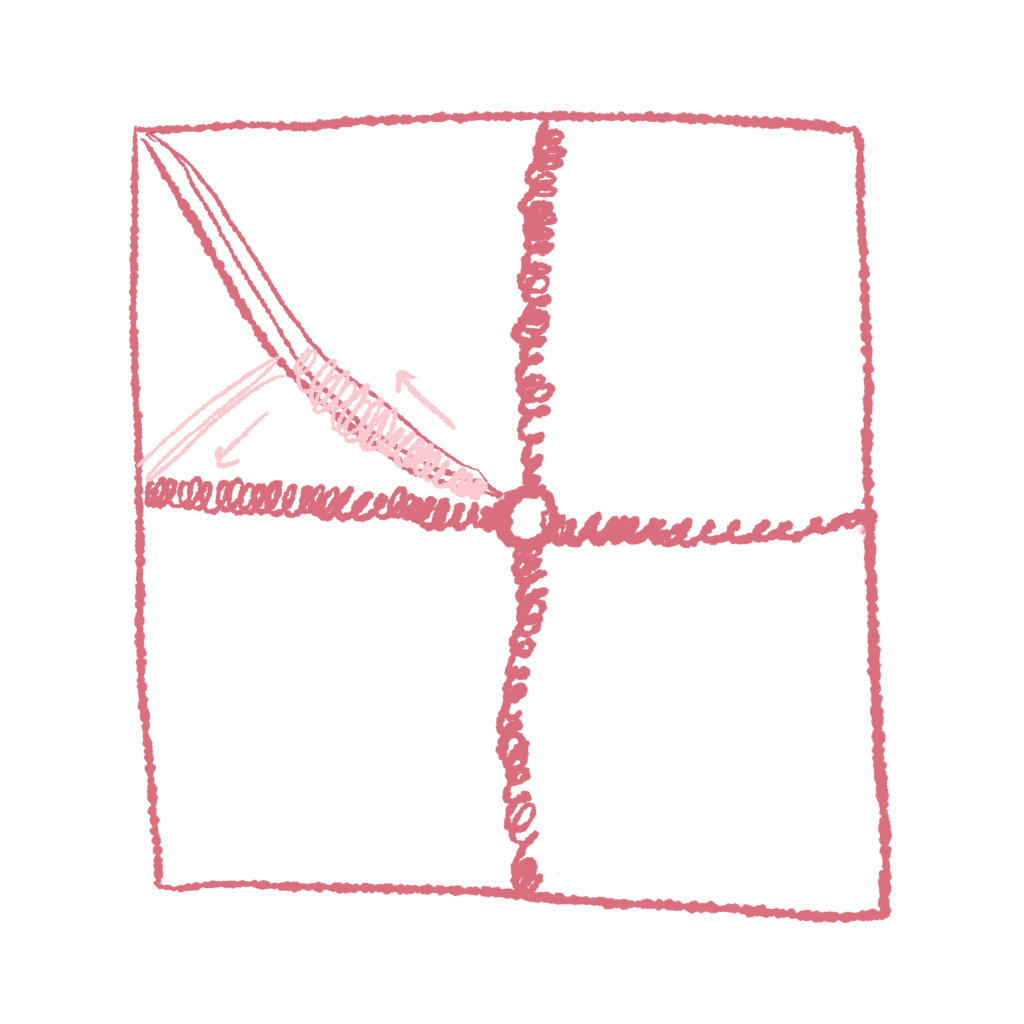
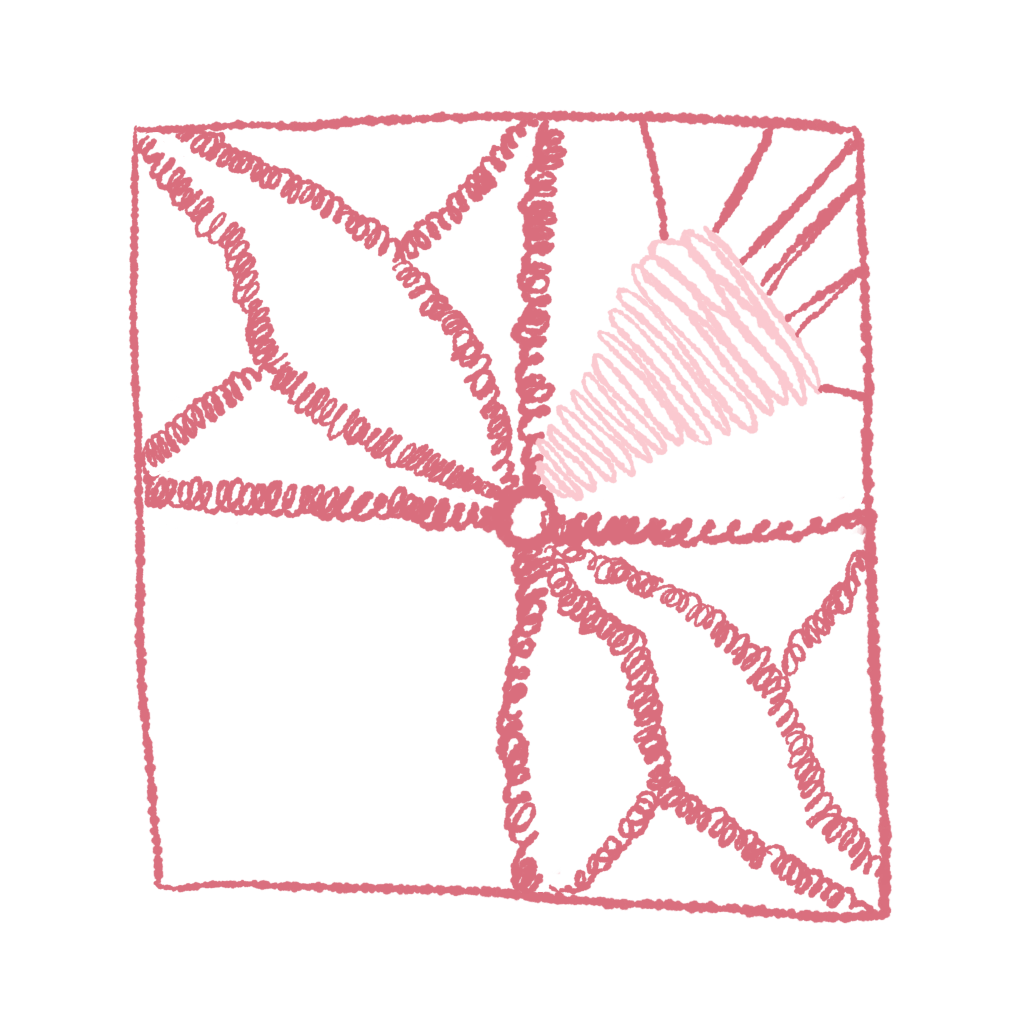
Create an arc in the top-left square with 3 passes of thread. End the third pass in the center of the window.
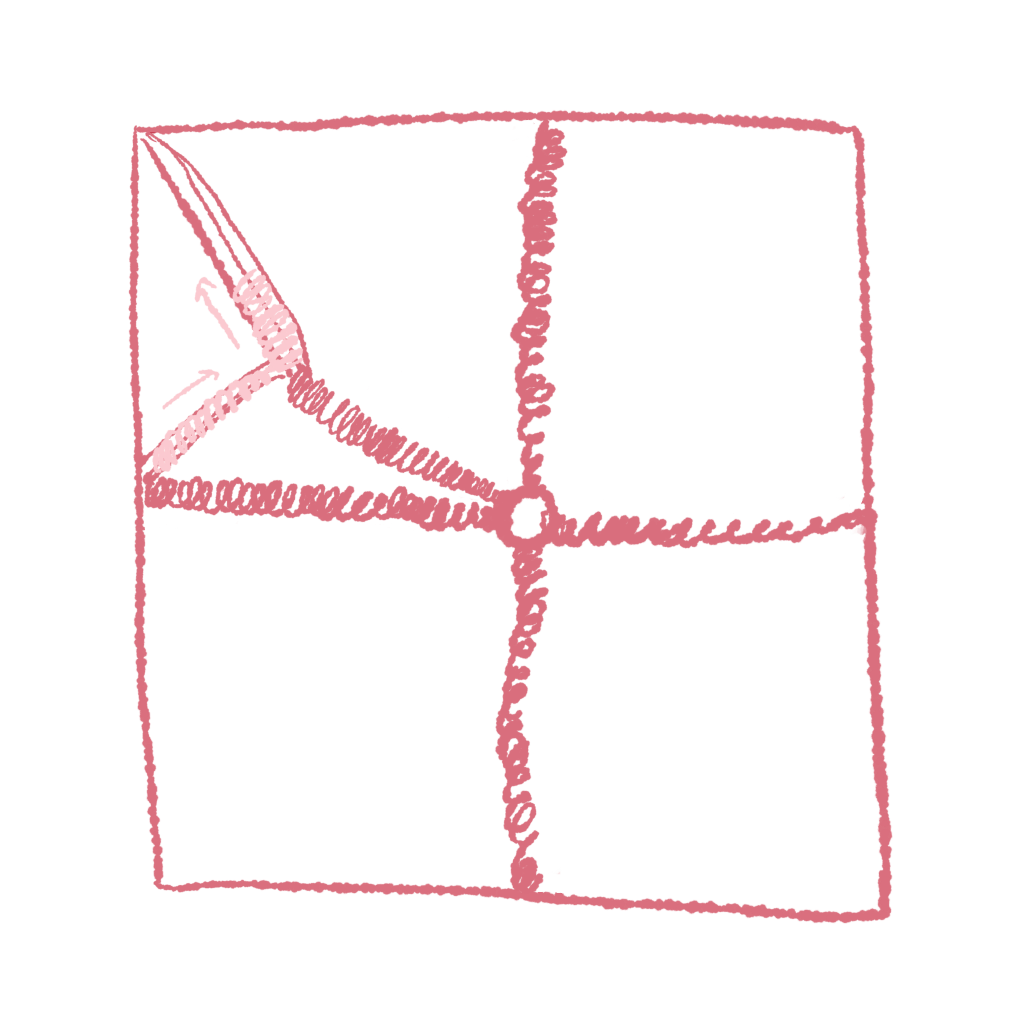
Work buttonhole stitch over the arc, traveling outward. Halfway up the arc, create a smaller arc to the corner of the square with 3 passes of thread.
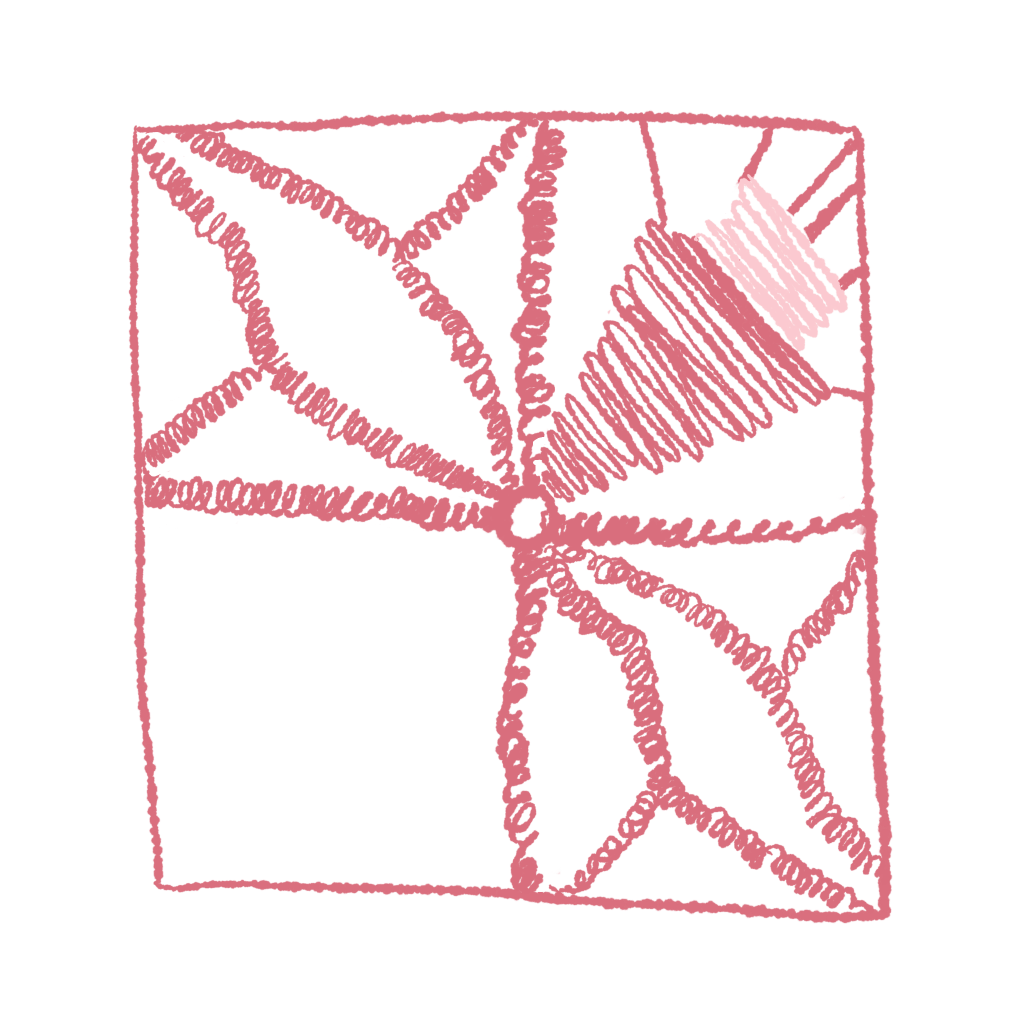
Work buttonhole stitch back to the main arc and continue up to the corner.
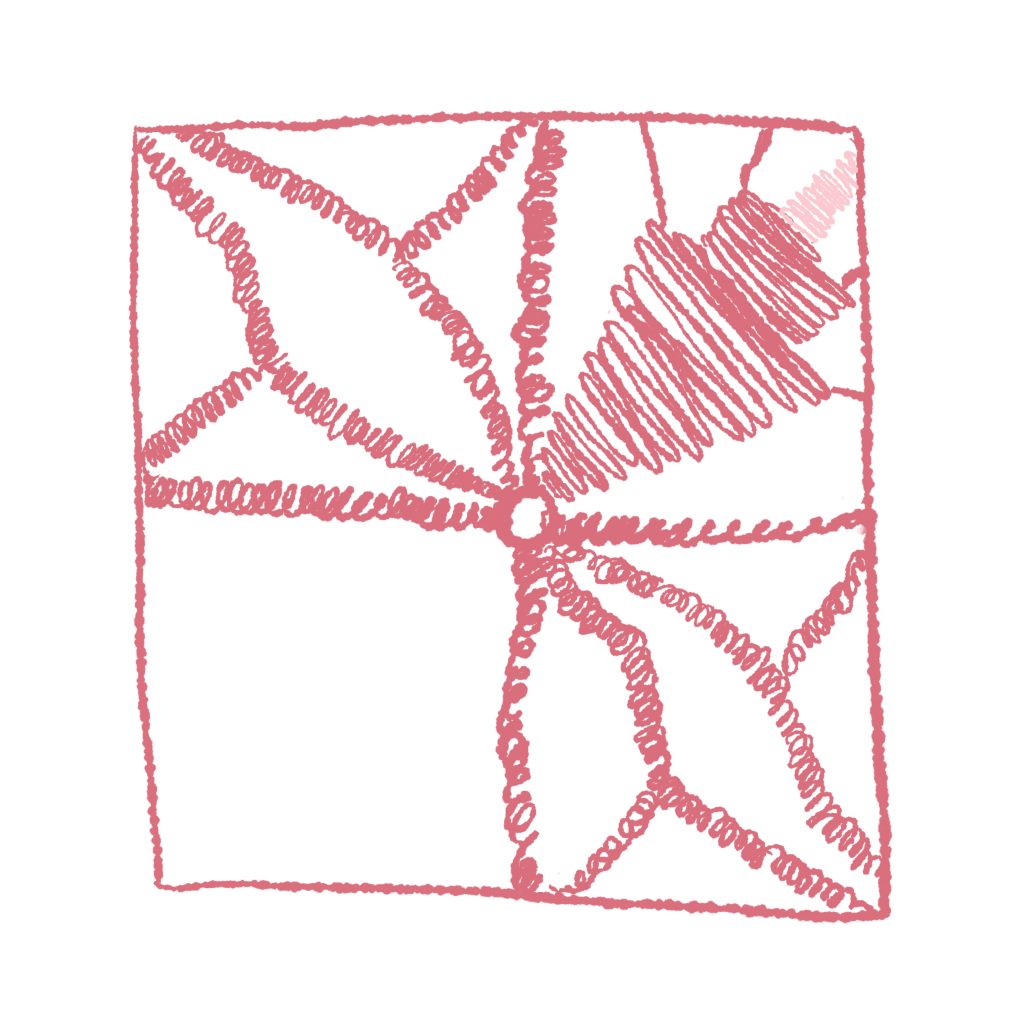
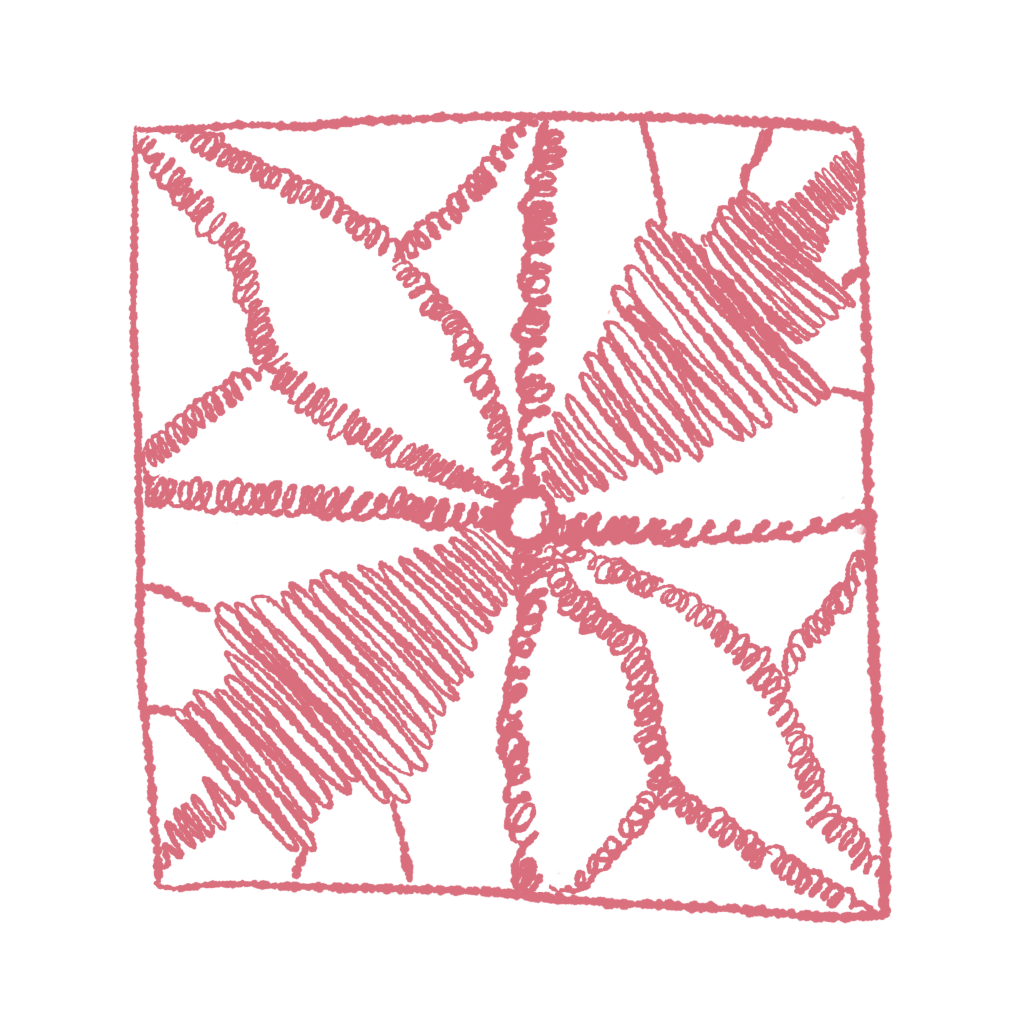
Create another buttonholed arc in the top-left square. Repeat the same process to make an identical motif in the bottom-right square.
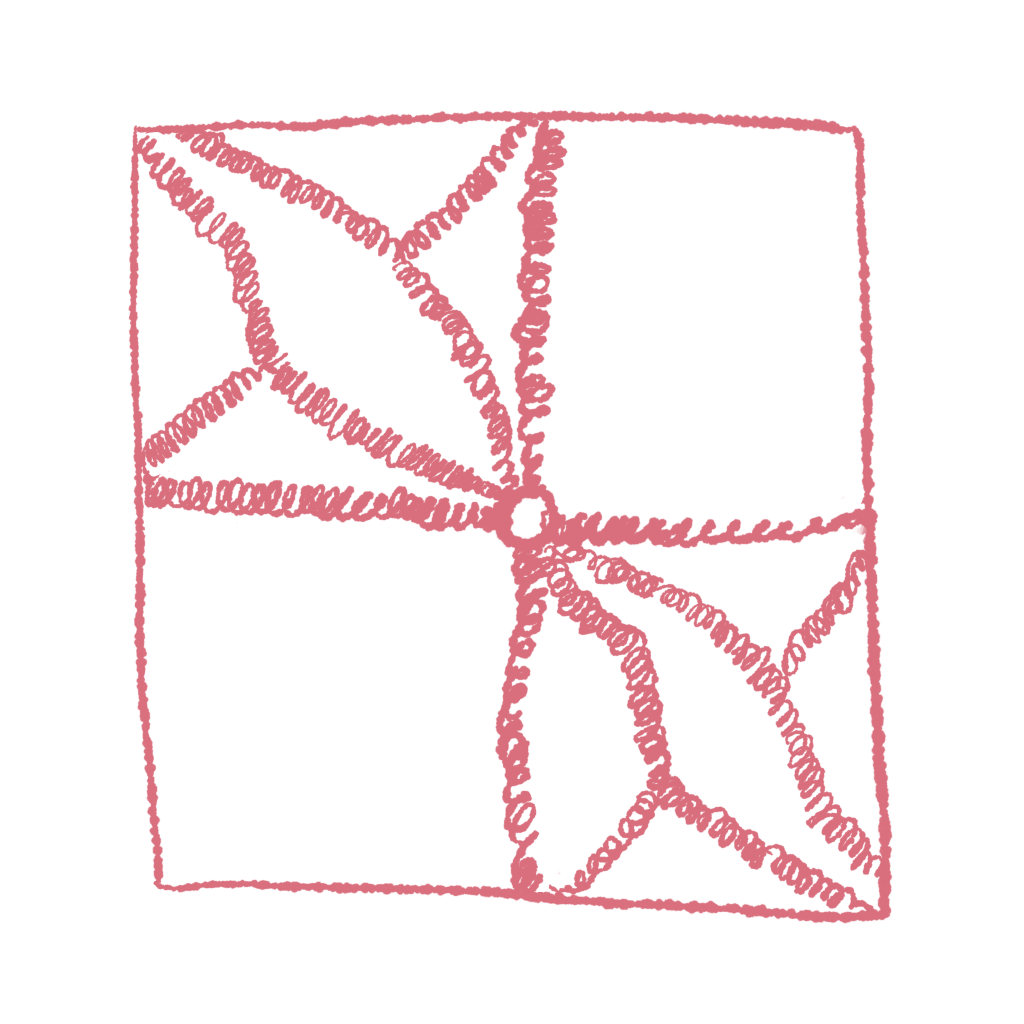
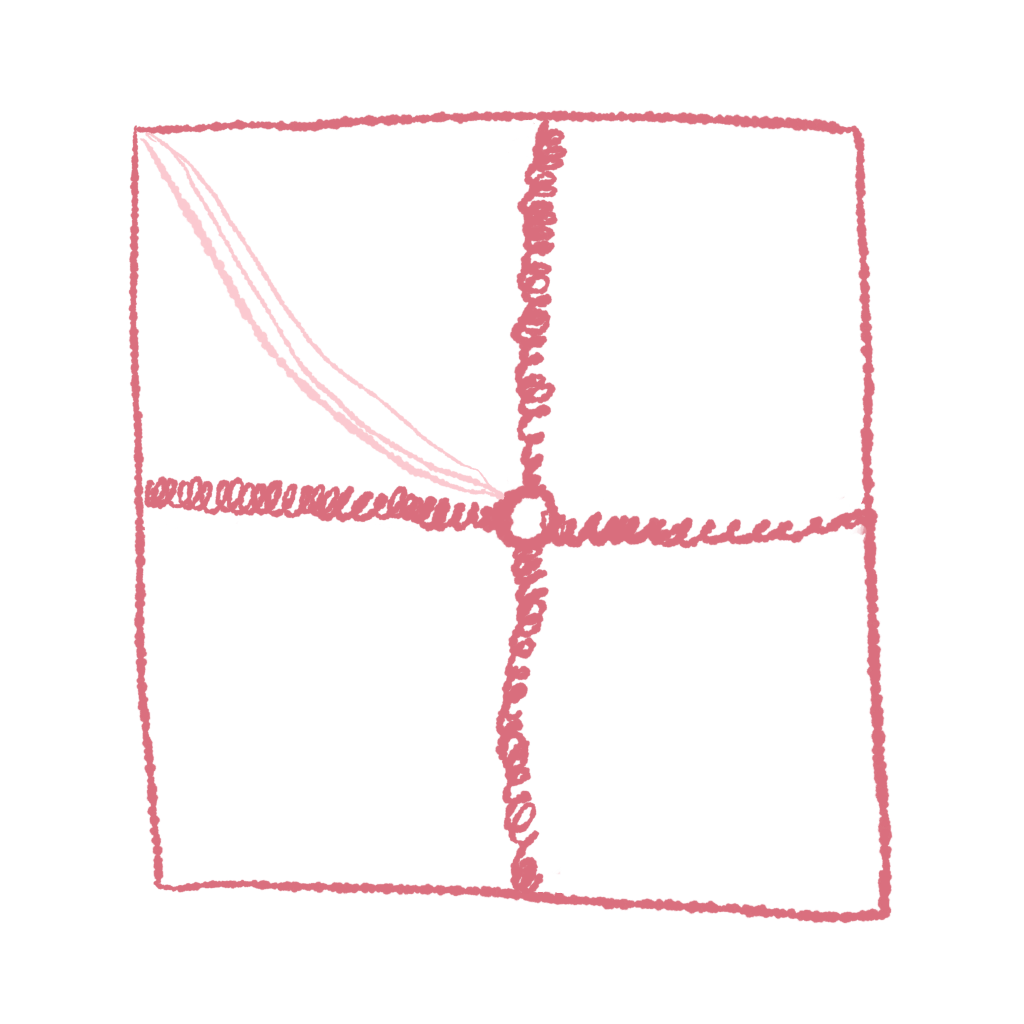
The remaining squares will be filled with a needle-woven element. Starting from the center, place the 6 supporting threads as shown in the diagram. Wrapping the working thread around when returning to the center makes the bars neater and stronger.
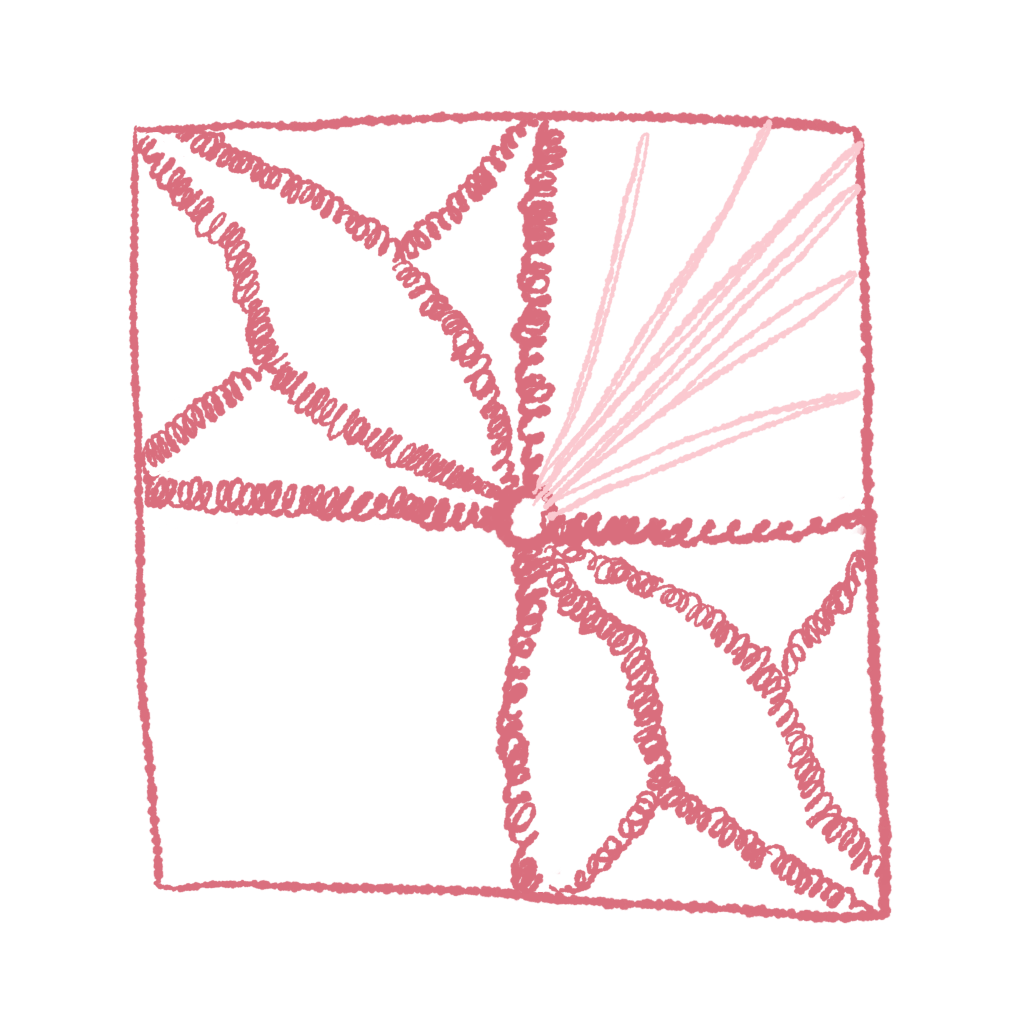
Needle weave between all 6 bars up to the end of the outermost threads.
Continue weaving between the remaining 4 bars.
Finish up by weaving a few rows through the last 2 bars.
Repeat the needle weaving element in the opposite corner to complete the motif.
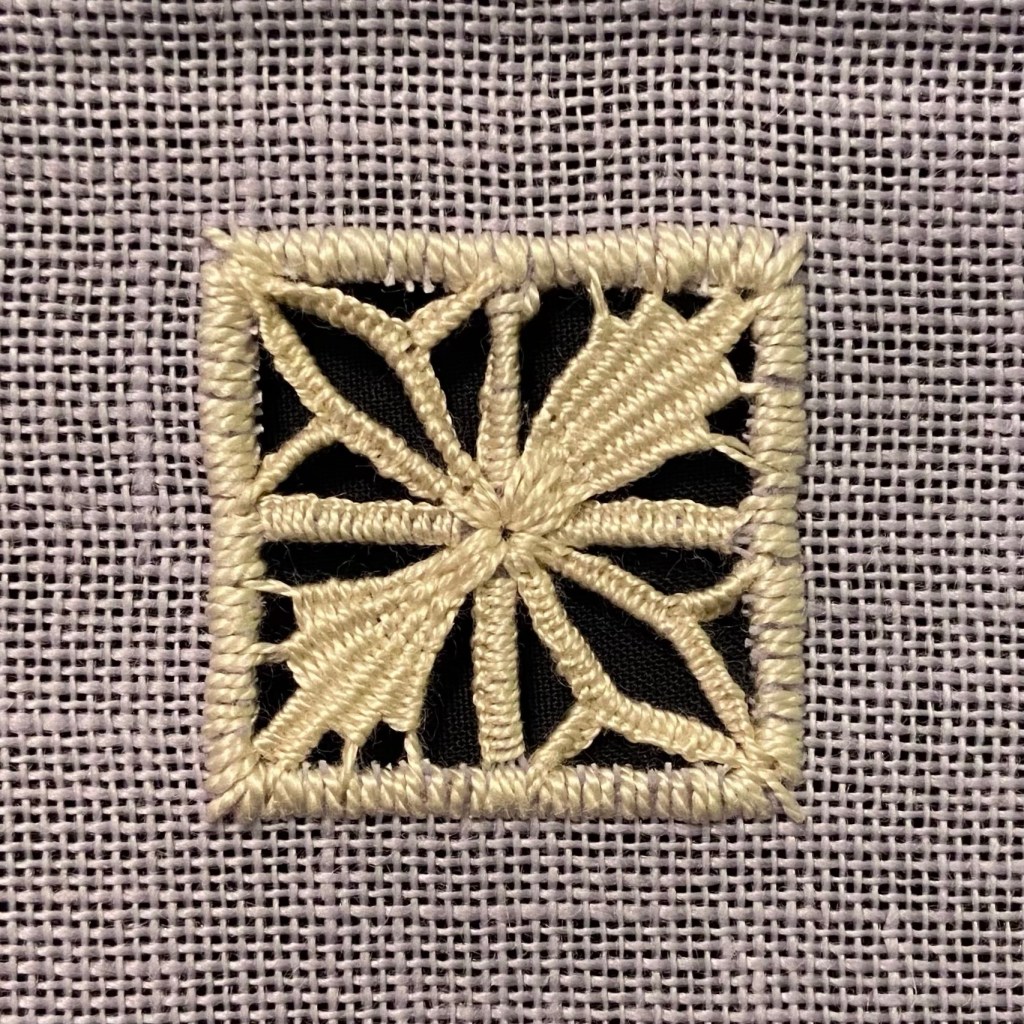
Here is my completed motif. I used 28 count linen with no. 8 pearl cotton for the satin stitch border and no. 12 pearl cotton for the lace elements. The fabric in the original image is much finer, but this is what I had on hand.
I’m looking forward to exploring more Aintab embroidery stitches and sharing them as I go. My goal is to (eventually) put everything together into a tablecloth, and I have a lot of learning and experimenting to do before then.
References
- Kasparian, Alice Odian. Armenian Needlelace and Embroidery. EPM Publications, 1983.
- Tokmajian, Hrazdan. Ayntab Needlework, Part A. Grtasiradz Cultural Association of Aleppo and Pyunik Charitable Foundation, 2015. p. 267

